1. Select Programs > Progress > OpenEdge > BP Server > Tools > DB Configuration Tool.
Alternatively, you can use a command prompt to start the DB Configuration Tool in Windows and UNIX.
a. In the command prompt, go to OEBPS_HOME\bin.
b. Enter the following command:
on Windows
DBConfigTool.cmd
on UNIX
DBConfigTool.sh
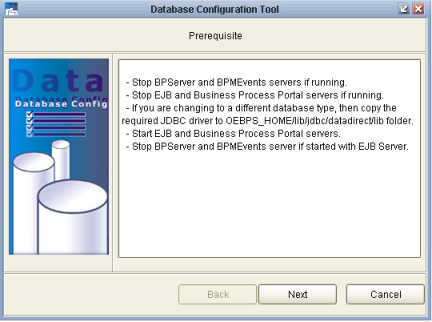
A Prerequisite window is displayed as shown in the following figure. The information displayed in this window contains instructions to be followed before and after using the Tool and is specific to the application server with which Business Process Server is installed.
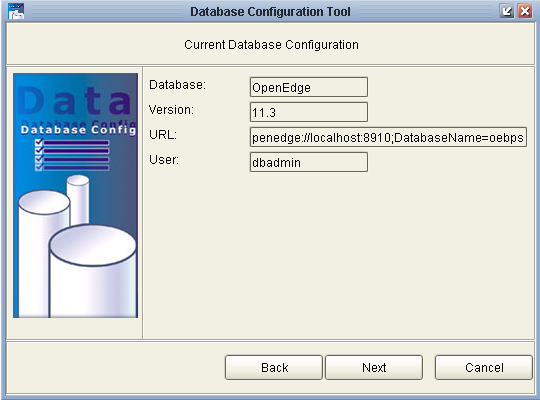
2. Click Next, displaying the Current Database Configuration window, as shown below.
Figure 8. Database Configuration Tool, summary of Current Database Configuration
3. Click Next. The New Database Properties window is displayed as shown in the following figure.
Figure 9. Database Configuration Tool, New Database Properties
4. Select the DBMS you want to configure from the Database drop-down list.
The Database Configuration Tool displays appropriate fields for the properties of the selected database. The New Database Properties window is shown in the Figure 9 as an example. The window for other database management systems are slightly different.
If you need your database server in multi-byte mode, then you can set the Multibyte Schema option to True.
Enter the database properties to construct the database URL.
Note: Check the Use SSL check box to connect using SSL security.
5. Click Next.
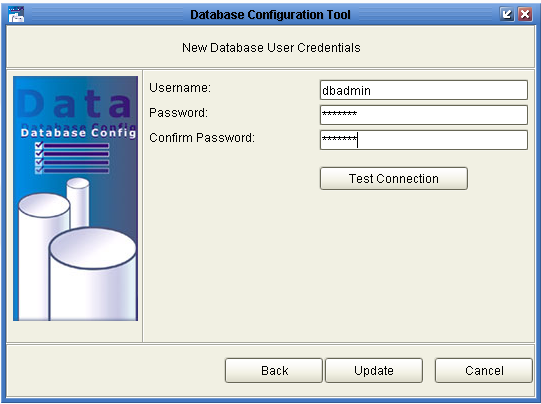
The New Database User Credentials window is displayed as shown in the following figure.
Figure 10. Database Configuration Tool, New Database User Credentials
a. Enter a valid User Name and Password.
b. Click Test Connection to validate the database details entered. On successful validation, a confirmation message is displayed. If you enter invalid details, then an error message is displayed.
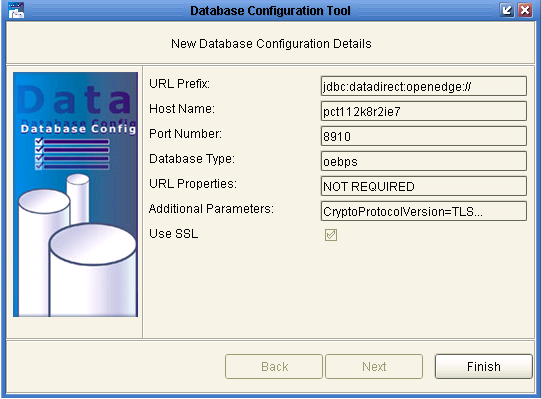
Note: If you are using JBoss application server, the New Database Configuration Details page appears. Click Finish.
6. Click Next.
The Machine and Server Details window for the selected database is displayed, as shown in the following figure.
Figure 11. Database Configuration Tool, Business Process Server Host Details
7. Enter the details. Ensure that your port specification is valid, and does not conflict with the other servers.
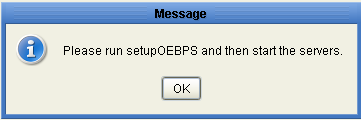
8. Click Finish. A prompt appears, asking you to ensure to run the OEBPS setup tool and then start the Portal servers. Click OK.