This section provides instructions for installing your downloaded files using a GUI.
1. From the temporary directory containing the installer files, open the installer's binary file to start the installer.
2. The Introduction window for the product installation appears. Click Next to continue.
3. The License Agreement window appears. Make sure that you read and understand the license agreement. To continue with the installation, select the I accept the terms of the License Agreement option; then, click Next.
Note: You can exit the installer program at any time by clicking Cancel or return to the previous window by clicking Previous.
4. The Install Directory window appears. In the Where Would You Like to Install? field, type the full path of the product installation directory or click the Choose... button to browse to and select an installation directory. The default value for the installation directory is:
For 32-bit installations:
/opt/Progress/DataDirect/ODBC_nn_32bit
For 64-bit installations:
/opt/Progress/DataDirect/ODBC_nn_64bit
If you do not have /opt directory permissions, the installer program installs the drivers to your home directory by default. For example, the directory for 32-bit installation would be:
/home_directory/Progress/DataDirect/ODBC_nn_32bit
where
nn
is the product version number. For example, this value is 80 for the 8.0 version of the product.
home_directory
is the home directory for the user who is installing the product.
Verify that you have entered (or selected) the correct installation directory. Then, click Next to continue.
To restore the installation directory to its default setting, click Restore Default.
5. Choose the type of installation to perform. Select one of the following options:
Evaluation Installation (will expire in 15 days). Select this option to install an evaluation version of the driver. Click Next to continue with the installation. Skip to Step 9.
OEM/Licensed Installation. Select this option if you purchased a licensed version of one or multiple drivers. Click Next. Proceed to the next step.
Note: OEM CUSTOMERS: Refer to the Progress DataDirect for ODBC Drivers Distribution Guide for information on installing, branding, unlocking, and distributing your branded drivers.
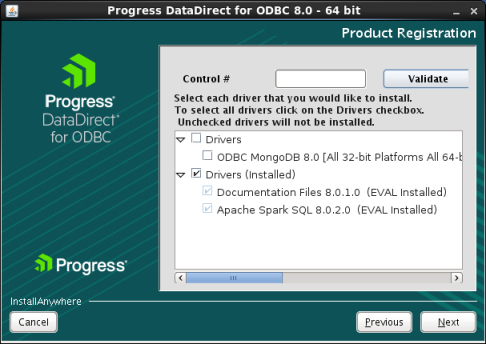
6. The Product Registration window appears.
Type the control number, including dashes, that was provided by Progress DataDirect in the Control # field, and click the Validate button. A tree menu of drivers with valid licenses appears in the selection box. You can add one or multiple keys, one at a time.
7. From the tree menu, select the drivers that you want to install. Drivers that are already installed are listed in the Drivers (Installed) tree and cannot be deselected. To remove installed drivers, you must uninstall the product. See "Uninstalling the Product on UNIX and Linux" for information on uninstalling drivers. Click Next to continue.
Note: If you are installing a different version of a currently installed driver, the installer will overwrite the existing driver files with the version that you are installing.
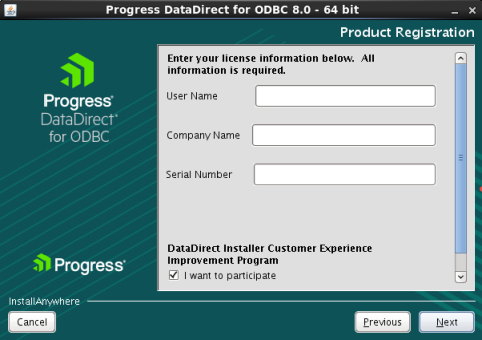
8. The Product Registration window appears.
Provide the following information:
a. Type your name and company name in the corresponding fields.
b. Type the serial number that was provided by Progress DataDirect.
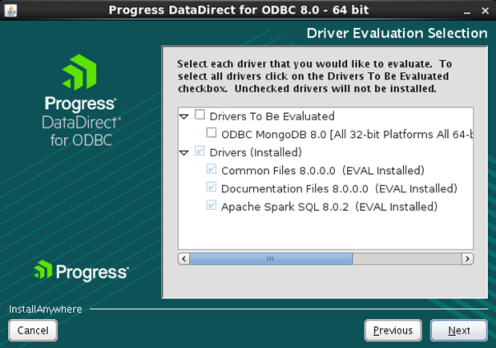
9. The Driver Evaluation Selection window appears.
From the Drivers To Be Evaluated tree, select the drivers that you want to install. Drivers that are already installed are listed in the Drivers (Installed) tree and cannot be deselected. To remove installed drivers, you must uninstall the product. See "Uninstalling the Product on UNIX and Linux" for information on uninstalling drivers. Click Next to continue with the installation.
10. The Pre-Installation Summary window provides the opportunity to review the information you have entered. When you are satisfied with your installation or branding option selections, click Install to begin the installation.
11. When the installation finishes, the Install Complete window appears. Click Done to exit the installer program.
This completes the installation.
After installation, you must configure drivers and data sources; see "Configuring Drivers and Data Sources" for details.