You can use DataDirect Test™ to establish and test a DataSource connection. The screen shots in this section were taken on a Windows system.
Take the following steps to establish a connection.
1. Navigate to the installation directory. The default location is:
Windows systems: Program Files\Progress\DataDirect\JDBC_60\testforjdbc
UNIX and Linux systems: /opt/Progress/DataDirect/JDBC_60/testforjdbc
For UNIX/Linux, if you do not have access to /opt, your home directory will be used in its place.
2. From the testforjdbc folder, run the platform-specific tool:
testforjdbc.bat (on Windows systems)
testforjdbc.sh (on UNIX and Linux systems)
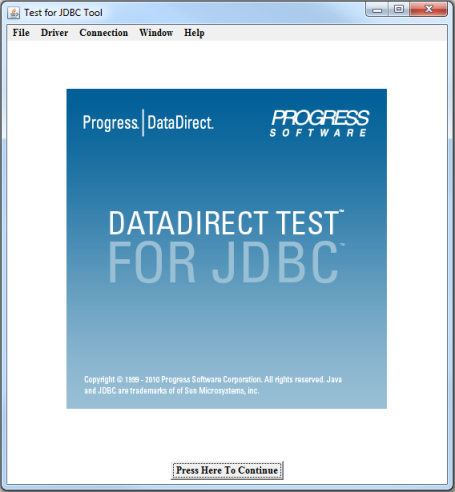
The Test for JDBC Tool window appears:
3. Click Press Here to Continue.
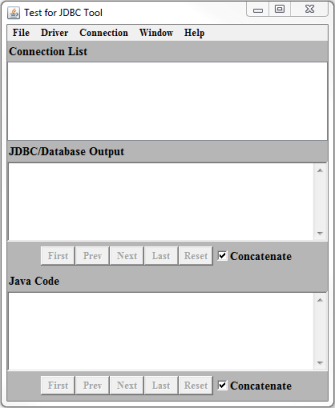
The main dialog appears:
4. From the menu bar, select Connection > Connect to DB via Data Source.
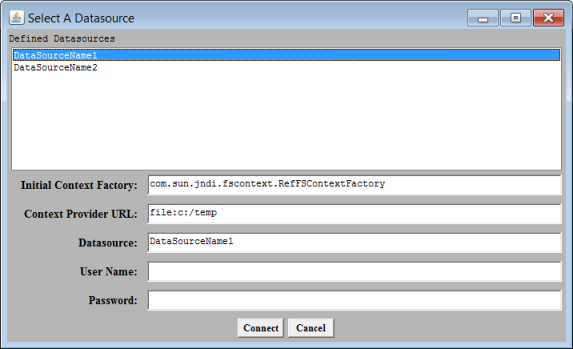
The Select A Database dialog appears:
5. Select a datasource template from the Defined Datasources field.
6. Provide the following information:
a. In the Initial Context Factory, specify the location of the initial context provider for your application.
b. In the Context Provider URL, specify the location of the context provider for your application.
c. In the Datasource field, specify the name of your datasource.
7. If you are using user ID/password authentication, enter your user ID and password in the corresponding fields.
8. Click Connect.
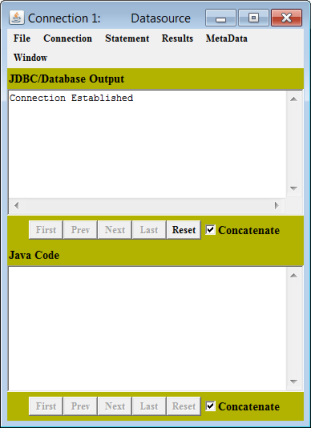
If the connection information is entered correctly, the JDBC/Database Output window reports that a connection has been established. If a connection is not established, the window reports an error.