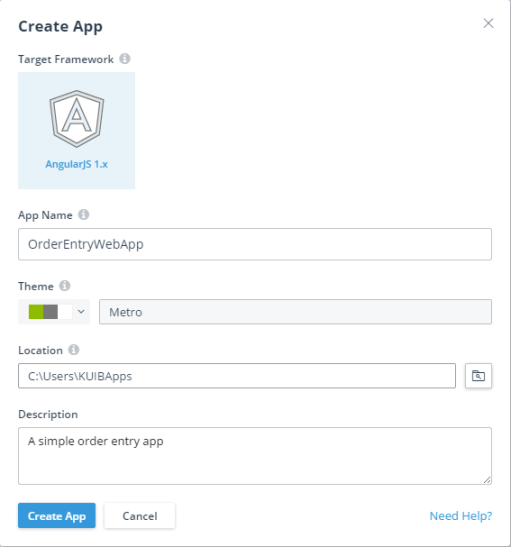
When you click the Create App button in the upper-left corner of the dashboard, the Create App dialog box appears.
Enter the following information in this dialog:
1. App name: The name of your application. The name cannot contain spaces. Only letters, numbers, dashes, and underscores are permitted.
2. Theme: Select a different color scheme if needed. Click the color-coded button to see a list of named themes to select, providing samples of each. Metro is the default. Click Apply to save your new setting. You can also define and import custom themes later by editing the app. To learn more, see App design page.
3. Location: The location for the files associated with your app. This can match your workspace and project folder of the associated Web UI project in Progress® Developer's Studio for OpenEdge® (PDSOE) if you have OpenEdge installed.
4. Description: An optional description of the app for your own reference (not visible to the app user). This text appears both on the app card or list item on the dashboard and below the app title on the app design page.
When finished, click Create App, which opens the app design page.