After you have configured your data source, you can use the driver to access your data with Microsoft Excel from the Data Connection Wizard. Using the driver with Excel provides improved performance when retrieving data, while leveraging the driver's relational-mapping tools.
To use the driver to access data with Excel from the Data Connection Wizard:
1. Open your workbook in Excel.
2. From the Data menu, select Get Data>From Other Sources>From ODBC.
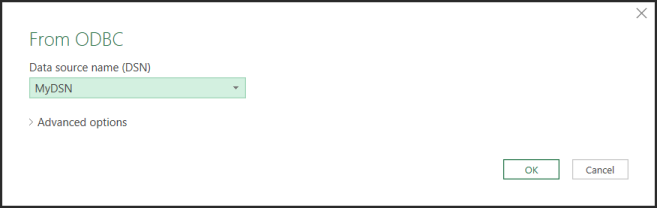
3. The From ODBC dialog appears.
Select your data source from the Data Source Name (DSN) drop down; then, click OK.
4. You are prompted for logon credentials for your data source:
If your data source does not require logon credentials or if you prefer to specify your credentials using a connection string, select Default or Custom from the menu on the left. Optionally, specify your credential-related properties using a connection string in the provided field. Click Connect to proceed.
If your data source uses Windows credentials, select Windows from the menu; then, provide your credentials. Optionally, specify a connection string with credential-related properties in the provided field. Click Connect to proceed.
If your data source uses credentials stored on the database, select Database; then, provide your user name and password. Optionally, specify a connection string in the provided field. Click Connect to proceed.
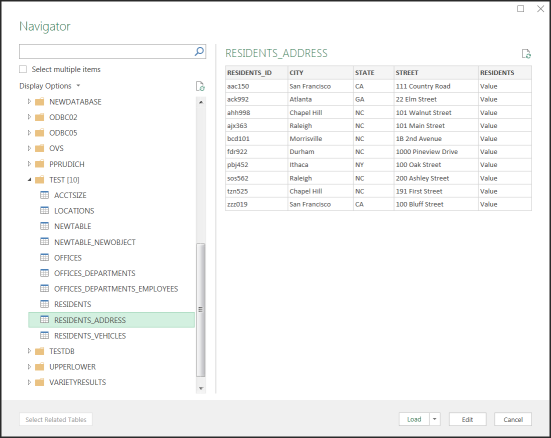
5. The Navigator window appears.
From the list, select the tables you want to access. A preview of your data will appear in the pane on the right. Optionally, click Edit to modify the results using the Query Editor. Refer to the Microsoft Excel product documentation for detailed information on using the Query Editor.
6. Load your data:
Click Load to import your data into your work sheet. Skip to the end.
Click Load>Load To to specify a location to import your data. Proceed to the next step.
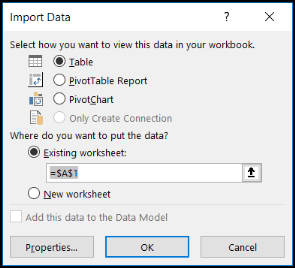
7. The Import Data window appears.
Select the desired view and insertion point for the data. Click OK.
You have successfully accessed your data in Excel. For more information, refer to the Microsoft Excel product documentation at: https://support.office.com/.