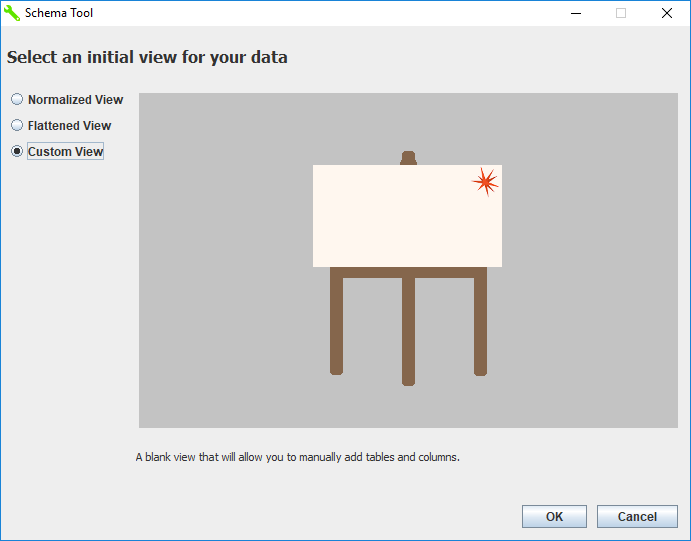
Instead of generating a normalized or flattened view of your data first, you can begin the process of customizing the relational view of your data by selecting Custom View in the Table Wizard. This view is ideal if your server contains a large number of databases/collections, but you only want to query from a select few. Take the following steps to start the customization process with the Table Wizard:
1. Open the Table Wizard according to the instructions in "Starting the Schema Tool":
2. Select Custom View under Select an initial view for your data in the Table Wizard window.
3. Click OK.
Note: If you want to change the initial view of your data later, select File>Restart Wizard from the Table Wizard dialog. Be aware that restarting the wizard also overwrites any customizations you have made to your schema definition. See "Restarting the Wizard" for more information.
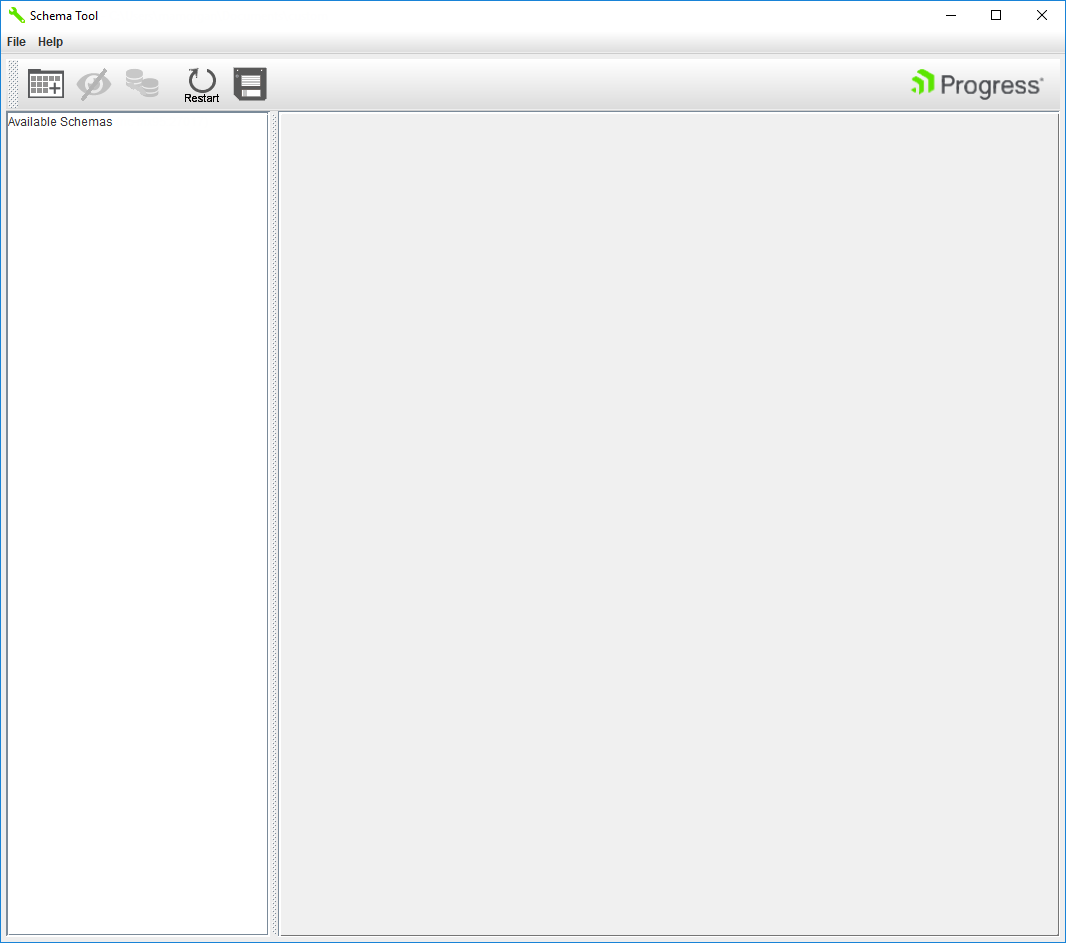
The Schema Tool's main display appears:
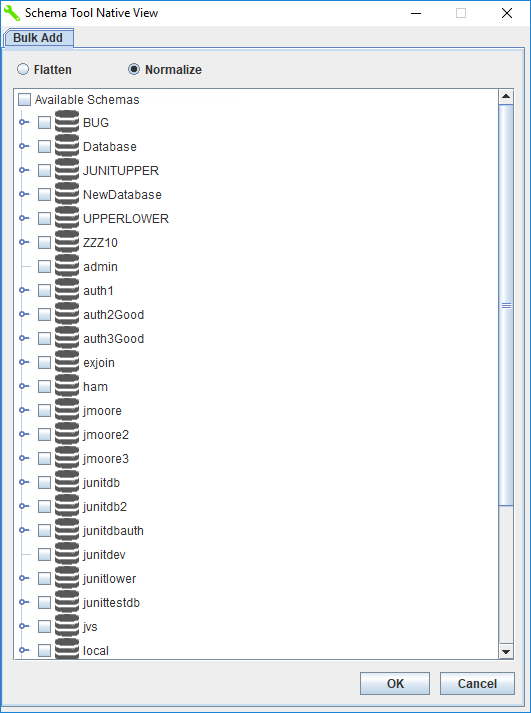
4. From the main display, click the Add Table(s) button.
The Schema Tool Native View window appears:
From the Schema Tool Native View, you can begin customizing your relational schema by selecting objects to map from the Available Schemas tree. See "Mapping Native Objects" and "Customizing Your Schema" for details.

 button.