Establishing savepoints
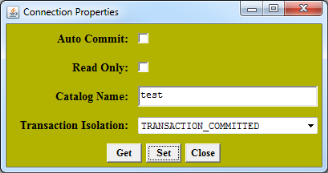
1. From the Connection window menu, select Connection / Connection Properties.
2. Select TRANSACTION_COMMITTED from the Transaction Isolation drop-down list. Do not select the Auto Commit check box.
3. Click Set; then, click Close.
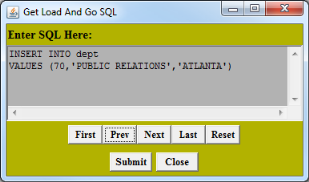
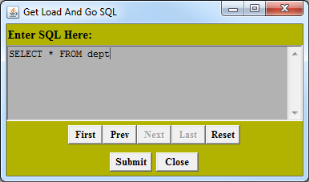
4. From the Connection window menu, select Connection / Load and Go. The Get Load And Go SQL window appears.
5. Type a statement and click Submit.
6. Select Connection / Set Savepoint.
7. In the Set Savepoints window, type a savepoint name.
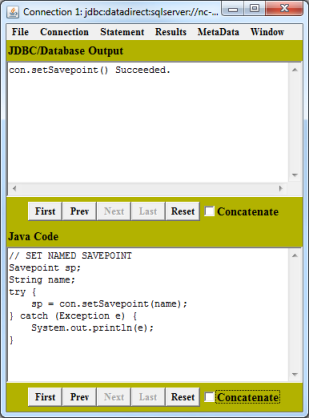
8. Click Apply; then, click Close. The Connection window indicates whether or not the savepoint succeeded.
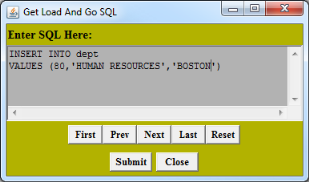
9. Return to the Get Load And Go SQL window and specify another statement. Click Submit.
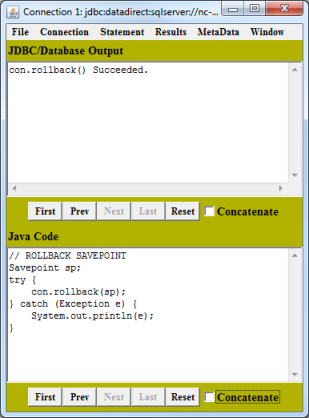
10. Select Connection / Rollback Savepoint. In the Rollback Savepoints window, specify the savepoint name.
11. Click Apply; then, click Close. The Connection window indicates whether or not the savepoint rollback succeeded.
12. Return to the Get Load And Go SQL window and specify another statement.
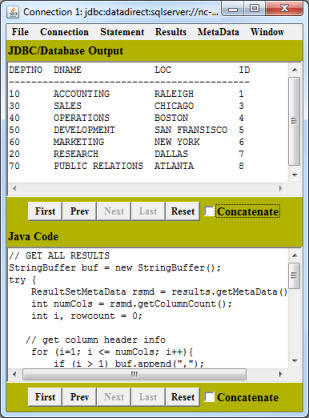
Click Submit; then, click Close. The Connection window displays the data inserted before the first savepoint. The second insert was rolled back.
