skip to main content
Quick Start: Progress DataDirect for JDBC for Jira Driver : Connecting to a DataSource : Connecting using the JDBC Driver Manager : Testing the connection
  

Try DataDirect Drivers Now
Testing the connection
You can also use DataDirect Test to establish and test a DriverManager connection. The screen shots in this section were taken on a Windows system.
Take the following steps to establish a connection.
1. Navigate to the installation directory. The default location is:
*Windows systems: Program Files\Progress\DataDirect\JDBC_60\testforjdbc
*UNIX and Linux systems: /opt/Progress/DataDirect/JDBC_60/testforjdbc 
For UNIX/Linux, if you do not have access to /opt, your home directory will be used in its place.
2. From the testforjdbc folder, run the platform-specific tool:
*testforjdbc.bat (on Windows systems)
*testforjdbc.sh (on UNIX and Linux systems)
The Test for JDBC Tool window appears:
Test for JDBC Tool landing page
3. Click Press Here to Continue.
The main dialog appears:
Test for JDBC Tool window
4. From the menu bar, select Connection > Connect to DB.
The Select A Database dialog appears:
The Select a Database dialog box
5. Select the appropriate database template from the Defined Databases field.
6. In the Database field, specify the ServerName for your Jira service.
For example:
jdbc:datadirect:jira:http://mycompany.atlassian.net
7. Enter values for the following fields.
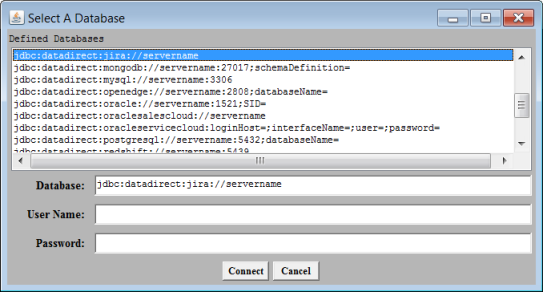
*In the User Name field, enter your user ID used to access your Jira service.
*In the Password field, enter your password or API token used to access your Jira service.
8. Click Connect.
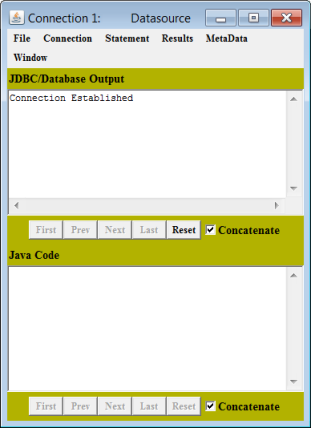
If the connection information is entered correctly, the JDBC/Database Output window reports that a connection has been established. (If a connection is not established, the window reports an error.)
Connection window
For more information on using DataDirect test, refer to DataDirect Test in the Progress DataDirect for JDBC Drivers Reference.