When you remove an object, you are hiding it from the relational view of your data and, by extension, from your SQL-based applications. The native data itself is not changed in any way. Because the native object persists, objects that have been removed can be added back to your relational schema (see Mapping Native Objects in a Schema).
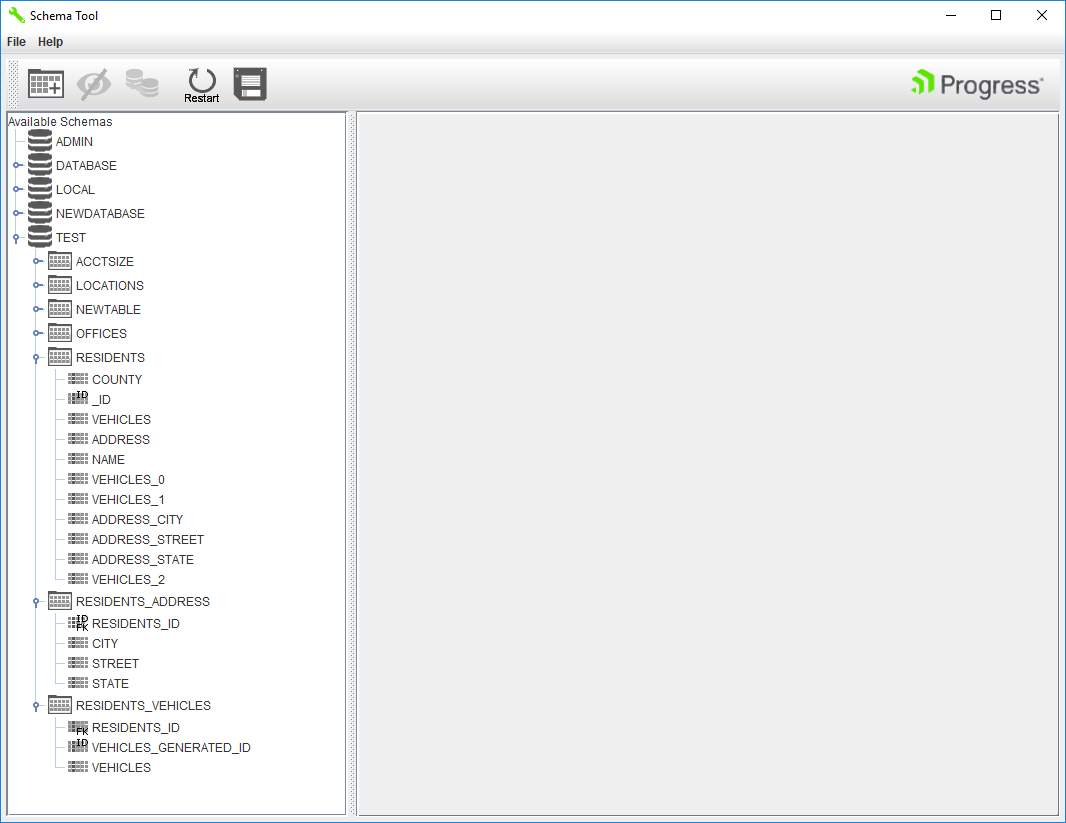
The following instructions illustrate how you can remove or hide any object that appears in the Schema Tool's Available Schemas panel.
Note: You can also remove columns from the Column Information pane. See Removing Columns for details.
1. Navigate to the Schema Tool's main display.
2. Select the object(s) you want to remove in the Available Schemas pane.
Note: You can select any combination of databases, tables, or columns to be hidden. However, because normalized child tables have a foreign key relationship to a parent table, child tables must be hidden before their parent tables.
Note: You can select consecutive objects by selecting an object, holding down the Shift key, and then selecting the last object. You can select non-consecutive objects by holding down the Crtl key and then selecting the objects you want to hide.
3. Once you have selected the object(s), you can hide the object(s) in either of the following ways:
Click the Remove Object(s) button
above the Available Schemas pane.
Right-click your selected object(s) and select Remove Object(s).
4. Click the Save button or select File>Save to save the modified schema.
The object is removed from your schema and is no longer visible to your application. When parent objects are removed, their children are also hidden. If your application attempts to access any removed object, the driver will return an error.

 above the Available Schemas pane.
 or select File>Save to save the modified schema.