The following procedures show to bring a Decision Service under management either as an independent Decision Service, or as a member of an Application.
Note: As the general steps are common to both adding and editing a Decision Service, this topic focuses on the tasks when adding a Decision Service, and then shows how to access a Decision Service to edit it.
To add a Decision Service:
1. Connect to the Web Console server where you want to add Decision Services.
2. Click the Decision Services icon:
3. Click + Add Decision Service:
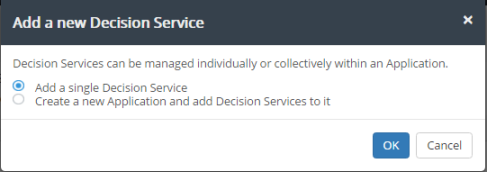
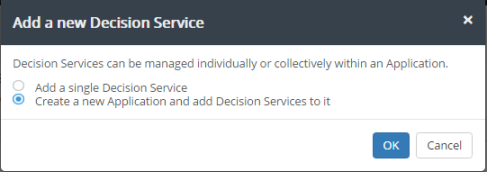
4. The Add a new Decision Service dialog box opens:
5. You can choose to create an Application for the Decision Service you are adding:
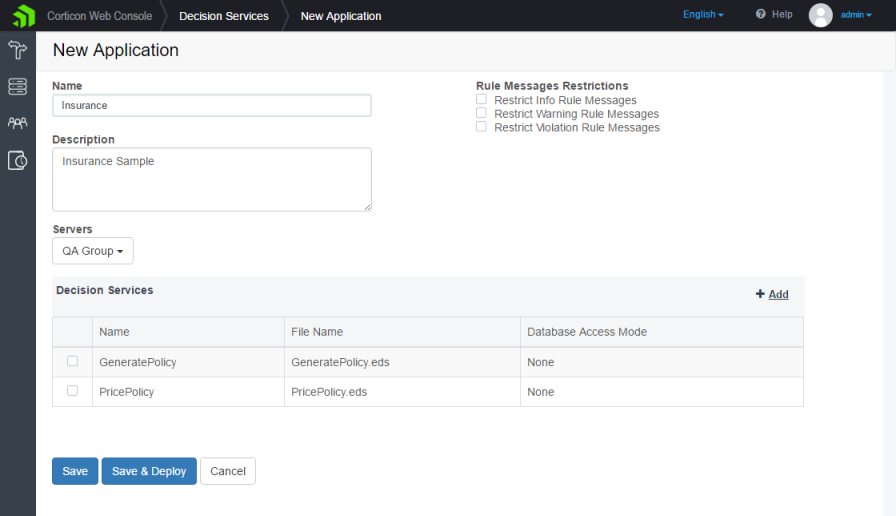
a. If you choose that option and click OK, the New Application dialog opens:
b. Enter a Name and Description.
c. Choose the server or server group where the Application's Decision Services are to be deployed.
d. Set options that will apply to all Decision Services in the Application.
e. Click + Add for each Decision Service you want to add to the Application.
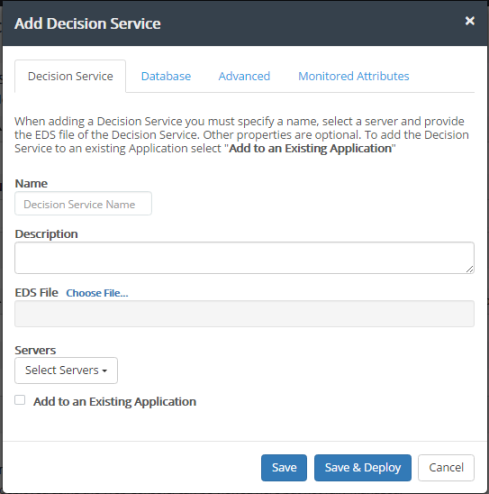
6. On either path, the Add Decision Service dialog box opens at the Decision Service tab:
a. Enter a name. Note that this will be its name when deployed, not the name of the EDS file you choose.
b. Add a description.
c. Click Choose file to locate an EDS file.
d. Choose a server or server group
e. If you started this process as a single Decision Service, you can choose to add it to an existing application from the list that will be offered.
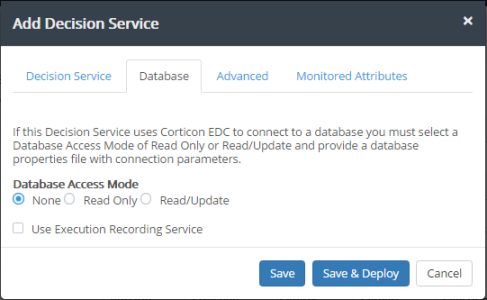
7. Click the Database tab to access its options:
a. Choose Use Execution Recording if you have set up appropriate configuration and database settings.
b. If you are licensed to use the Enterprise Data Connector (EDC), you can change the Database Access Mode option to either Read Only or Read/Update to extend the dialog tab to display additional configuration settings:
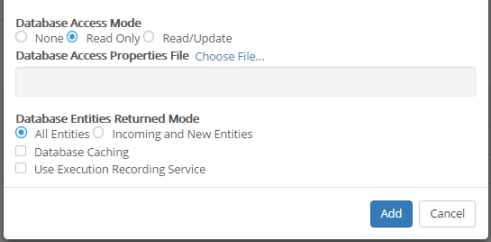
c. In the Database Access Mode, choose the appropriate database access option. This is effective only if your Corticon license enables EDC. This setting controls how an EDC-enabled Decision Service will access the database. Select Read Only or Read/Update to then expose additional settings that you need to configure:
Database Access Properties File: Specify the property file that contains the database access properties. To learn how to generate this file from Corticon Studio, see the topic: Creating a database access properties file .
Database Entities Returned Mode: Choosing All Entities returns all records from the database when the Decision Service executes. Choosing Incoming and New Entities returns entities that were in the request message and only those entity records that are added or modified in the database when the Decision Service executes. Select the appropriate option.
Database Caching: Database caching enables Corticon to store often-used data in a cache. This improves the performance of the Decision Service since it can read and write data in the cache faster than if this data was in the database. If you choose Enabled, database caching will be enabled for the Decision Service. To learn more about database caching, see the topic: Working with database caches.
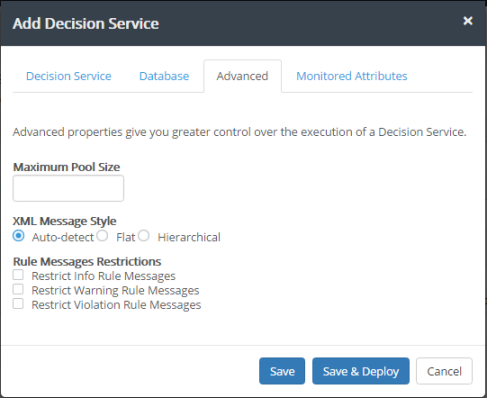
8. Click the Advanced tab to access its options:
Consult the Integration and Deployment Guide for more information about these settings.
a. In the Maximum Pool Size field, specify how many execution threads for this Decision Service will be added to the execution queue. If you leave this field blank, the Web Console will set a default value of 1.
b. In the XML message style section, choose whether request messages for this Decision Service should contain a Flat or Hierarchical payload structure. Auto Detect accepts either style.
c. Set Rule Message Restrictions to suit your preferences.
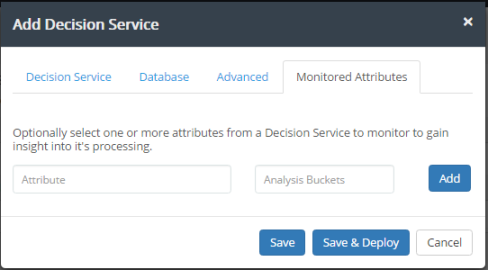
9. Click the Monitored Attributes tab to access its options:
10. Click Save to store the Decision Service but not deploy it. Click Save & Deploy to store the Decision Service and also deploy it. Click Cancel to close without making changes.